
Let's do it together!
Step 1: Navigate to Rule
Go to the Create Rule Selection page to start creating a discount.
Step 2: Configure Rule Parts
Set a title, select products, configure the discount amount, and optionally set a schedule.

Step 3: Focus on Targeting
Read the hint text and subtext to understand market and catalog targeting options.
Step 4: Create Discount Rule
Click Search Markets to find the market you want to target for the discount.
Step 5: Select Target Market
Select the first market you wish to target from the search results.
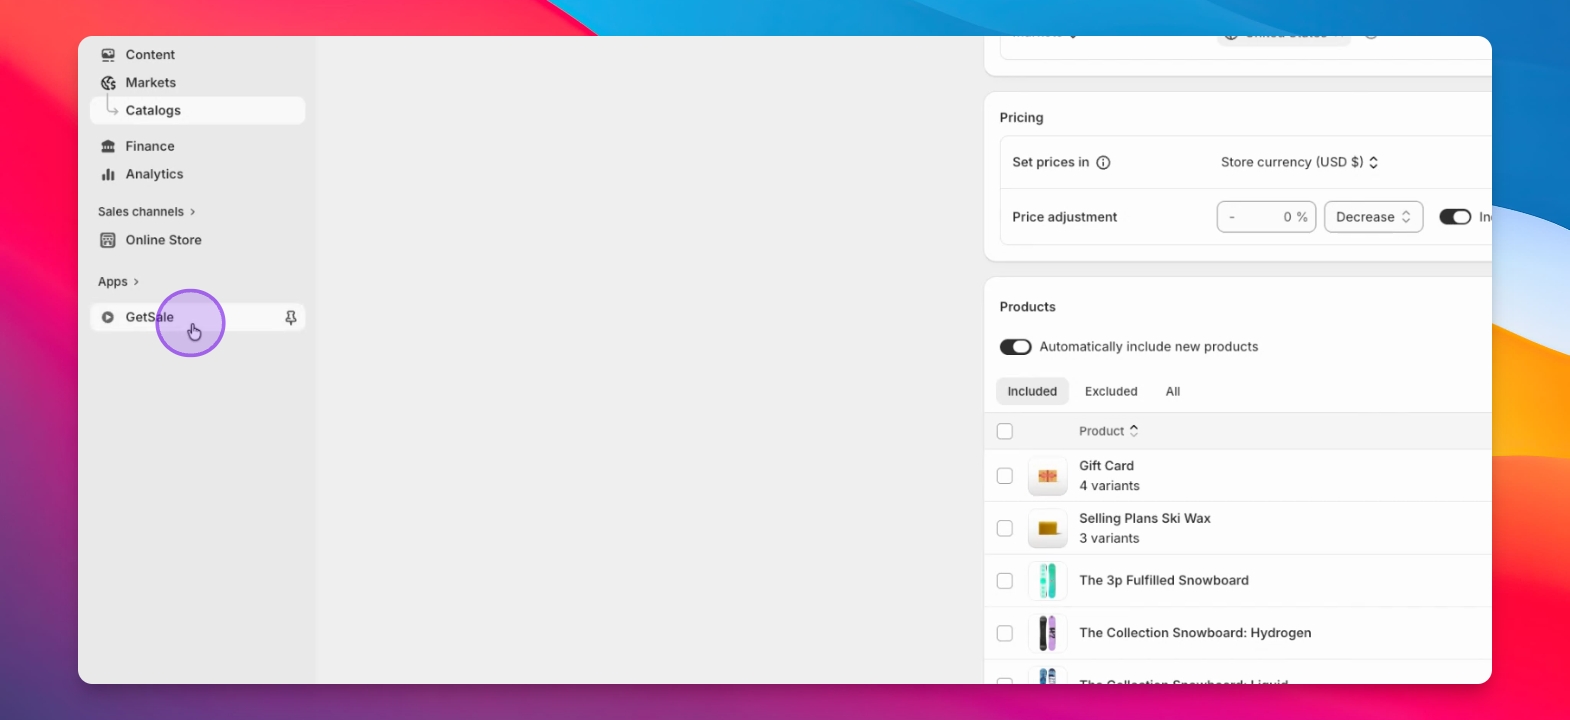
Step 6: Use Catalogs if Needed
If using catalogs, select the relevant catalog; otherwise, one will be created for you.
Step 7: Add More Markets
You can target up to five markets; add more as needed or delete unnecessary ones.
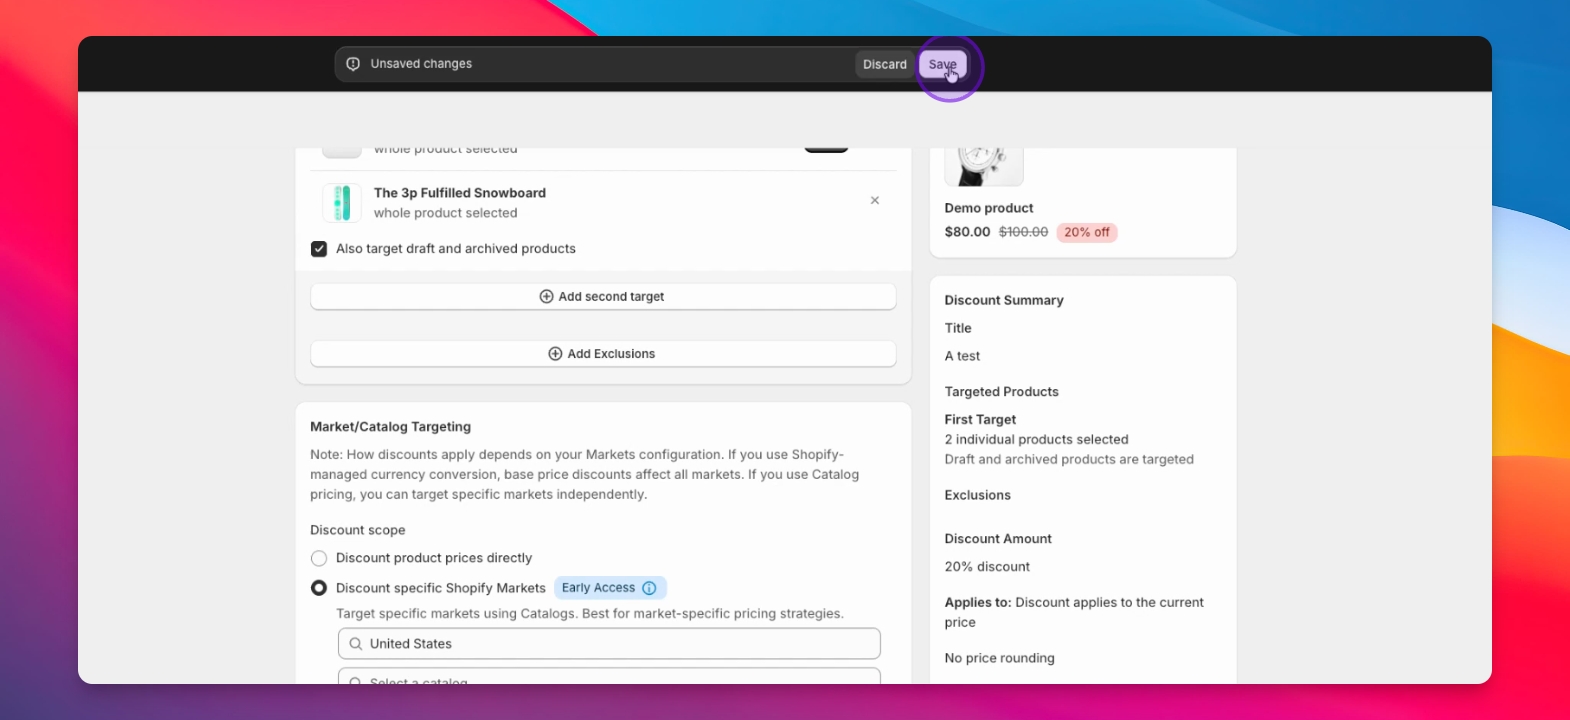
Step 8: Save Configuration
Review the discount summary and click Save once satisfied with your configuration.
Step 9: Preview Discount
A preview will display the price change for your products. If the currency appears incorrect in the preview, you can safely ignore it.
Step 10: Confirm Save
Click Save again after reviewing the preview to activate the discount.
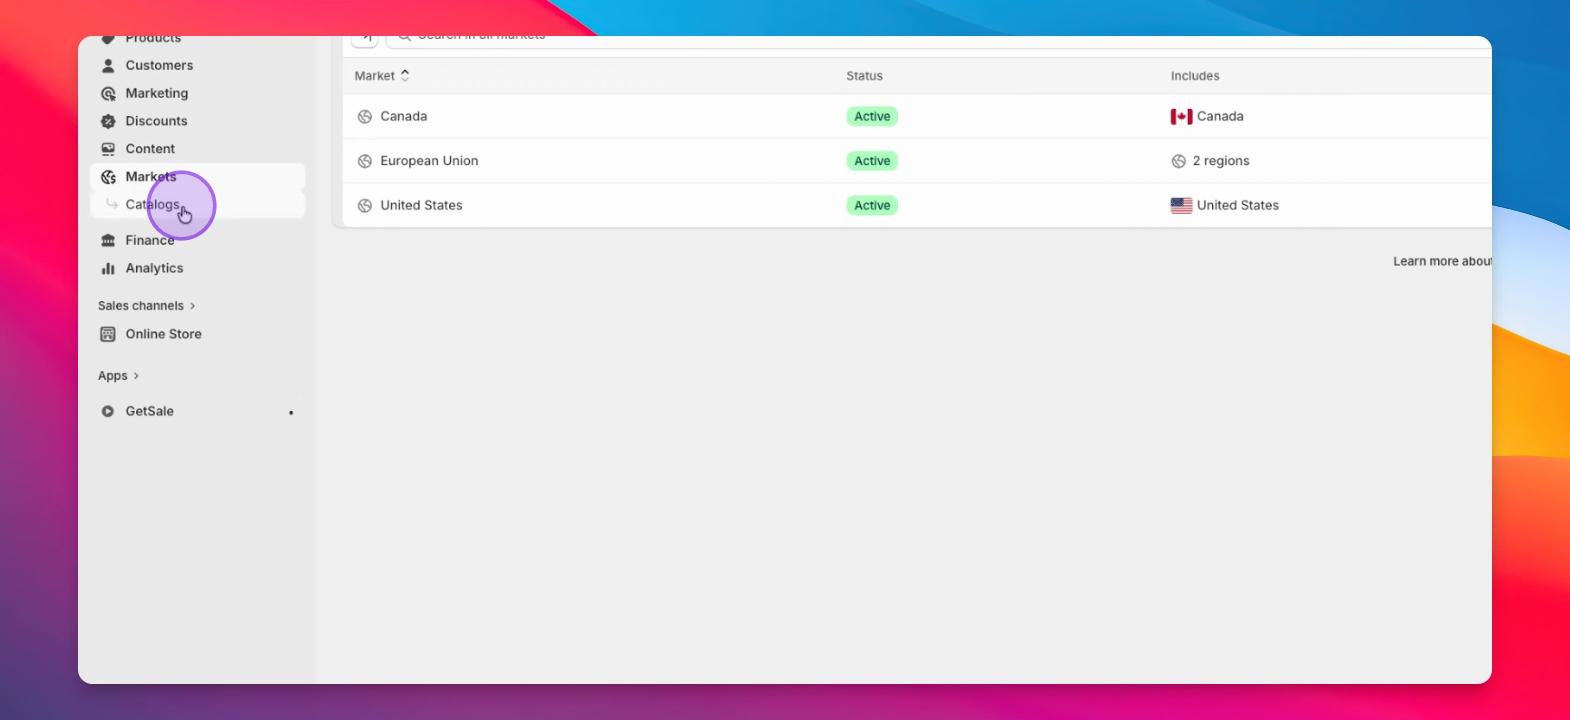
Step 11: View Changes
Navigate to the Markets page to see the price changes in action after activation.

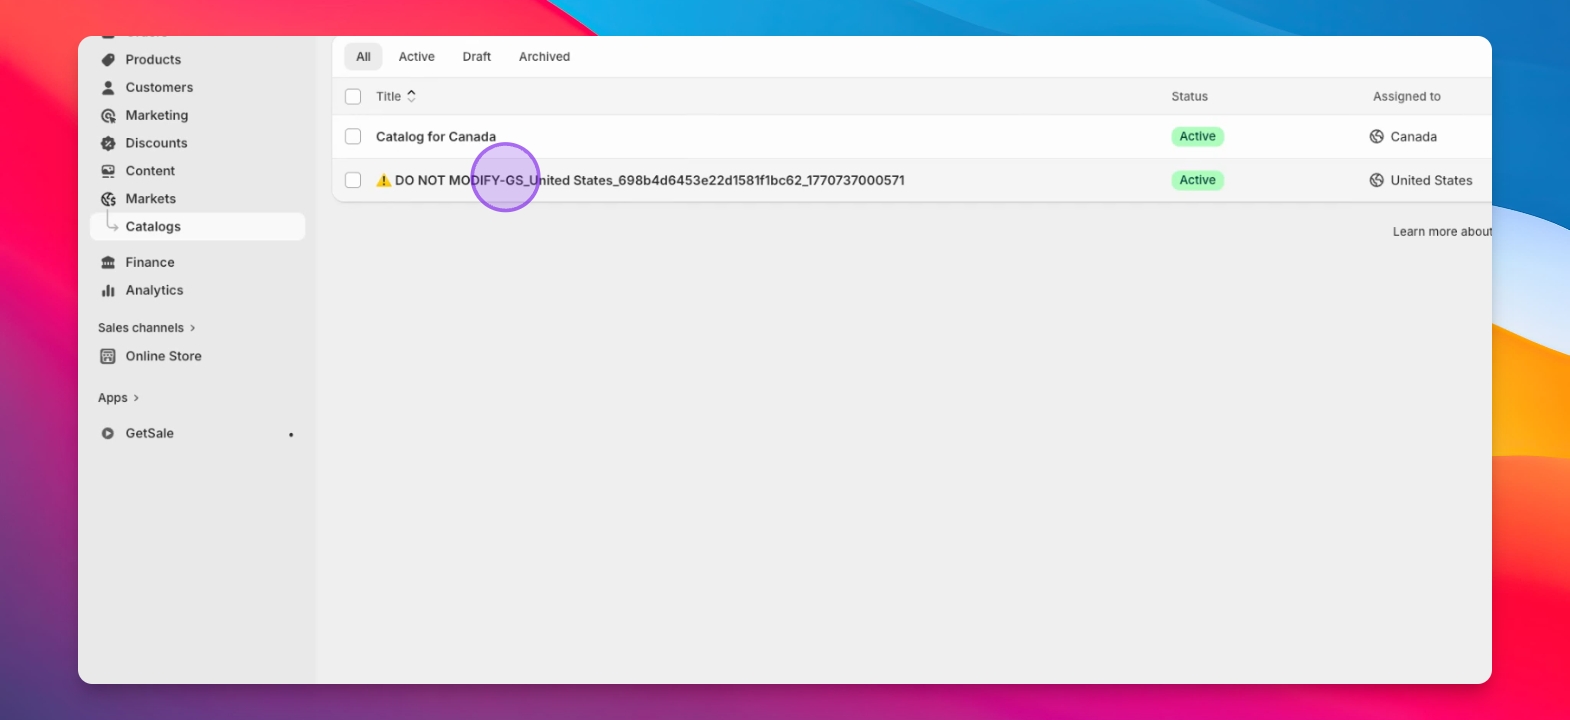
Step 12: Access Catalogs
Visit the catalogs section on the Markets page to view the created catalog.
Step 13: Check Price Changes
Click the catalog to view the price changes and compare prices for products.
Step 14: Understand Price Indicators
Identify fixed prices (white boxes) set by the app and Shopify's conversion prices (gray boxes).
Step 15: Avoid Changes
Do not modify anything on this page to prevent breaking the market's discount.
Step 16: Disable Discount
To disable the discount, return to the app and click Disable.
Step 17: Check Catalog Status
Return to the catalogs page to confirm the catalog's existence post-discount.
Step 18: Original Values Reset
If you targeted a catalog you created, the prices should revert to their original values.